Freshwater and Saltwater methods provided
Domesticated fish or pet fish are one of the most popular pet choices in the world.
They fall behind the excessively popular cats and dogs as household pets. However, pet fish require just as much time, attention, effort, money and responsibility.
Their needs range from the right amount of tank mates to diet and nutrition.
One of the most commonly missed needs of pet fish is that they need a clean tank to live in.
Most owners believe that if they have a filtration system that the tank will be clean.
Unfortunately for the tank inhabitants, this is false information, and they are the ones who pay the price.
So, let’s learn about cleaning the fish tank and do so regularly to keep our finned friends happy and healthy!
Freshwater Aquarium Cleaning Method
Before you begin to clean your freshwater aquarium, decide if your tank requires a full cleaning or a partial “maintenance cleaning.”
One way to decide which type of cleaning your tank needs is to do a water test.
Test the tank water for ammonia levels, nitrate levels, and nitrite levels.
If the tank water levels are slightly irregular, the water is slightly cloudy, and there is minimal algae development then you may only need to perform a partial tank cleaning.
For a partial cleaning, you can leave the fish in the tank.
However, if the water test is drastically irregular, very cloudy, and the algae have created a jungle effect in the tank then you may want to perform a full tank cleaning.
You may also be performing a full tank cleaning if you are starting a new tank from scratch or if you have a sick fish.
For full tank cleanings, you should remove any existing inhabitants and place them in a temporary container (sick fish should be quarantined until they are healthy again).

It is also important that all electrical items are unplugged and disconnected prior to beginning the cleaning process.
Let’s get cleaning!
Step one:
Gather all of the cleaning supplies that you will need and prep the area for cleaning. You will likely need the following supplies.
- An algae scrubber or pad (to clean the inside of the aquarium glass)
- Aquarium-safe cleaner (for the outside of the glass)
- A bucket of replacement water (should be the same amount of water that is being removed. i.e. 30% water removal = 30% water return, full water removal = total water return). Replacement water should be treated and at the right temperature (same as current tank water).
- A bucket or container large enough for the old tank water to be siphoned into.
- A siphon or gravel vacuum that is not battery powered.
- Replacement filter media if they need to be changed (sponges, carbon packets, cartridges, etc.)
- Optional bleach solution (about 10% in a separate container)
- Optional razor blade (metal or plastic). Acrylic tanks are prone to scratches and may not need this option.
Step two:
Time to use that algae scrubber! Remove about 10% to 20% of the tank water first to prevent overflow.
Begin by gently rubbing the inside of the glass with the algae scrubber.
If you happen across a tough spot, then you may need to use the metal or plastic blade to help you scrape it off.
However, take caution with this object as it could not only scratch the aquarium, but it may also cut your hand.
Rubber gloves can help keep your hands safe but, you should choose gloves that have not been used for other cleaning projects or have been pretreated with chemicals.
Always use an algae scrubber as your dish sponge will have bacteria and detergent from the dishes.
Step three:
Remove the old tank water with the siphon. Only remove the amount of water that you have ready to replace.
For example, if you have 30% of the tank capacity treated and at the correct temperature ready to replace old tank water then 30% of the old tank water should be removed.
Step four:
Once you have removed the intended amount of water from the tank and into a large container, you can now use the gravel vacuum.
The gravel vacuum should be used to remove any and all algae, fish waste, old food, and various other tank debris that is left at the bottom of the tank.
Gravel vacuums should not be used if you own a delicate fish breed (i.e. the Bubble Eyed Fancy Goldfish) if he is still in the tank during cleaning.
You may want to gently remove the fish in this case or place a mesh type fabric over the gravel vacuum hose to prevent damage to the fish.
However, the mesh may not be able to remove all of the tank debris.
Step five:
Remove any and all aquarium décor for cleaning.
They should never be washed with soap and water.
Instead, clean them with the help of the algae scrubber to remove any algae or other tank gunk that could be built upon the object.
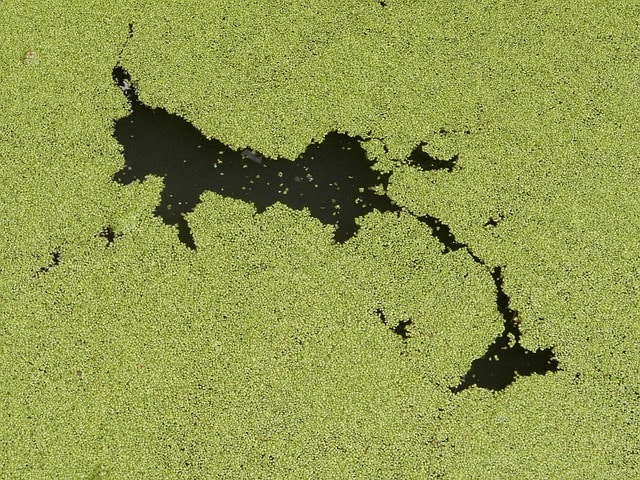
If the décor looks like you pulled it from an underwater jungle, then you may want to consider changing the filtration device, feeding your fish less, or adjusting the number of tank inhabitants (in the case of overcrowding).
Reposition the objects in the tank as you are done cleaning them. Your fish will enjoy a change of scenery!
Step six:
Now it is time to insert the replacement water into the tank.
Check that the replacement water is the correct temperature for the type of fish you keep, passes the water test, and has been properly treated prior to adding it to the tank.
Step seven:
Freshwater aquarium salt may be added at this stage if you so choose to add it.

Some fish breeds are known to have longer and healthier lifespans with the help of freshwater aquarium salt.
Freshwater aquarium salt also contributes to preventing diseases such as Ichthyophthirius Multifiliis (ICH).
Step eight:
The water may be cloudy as it is added to the tank and disrupts the substrate. Allow the water to be added and wait for it to settle completely.
The water should be entirely clear once all has settled.
Do not fill the aquarium to the very top as this can cause potential overflow, possible electrocution and potentially a big mess.
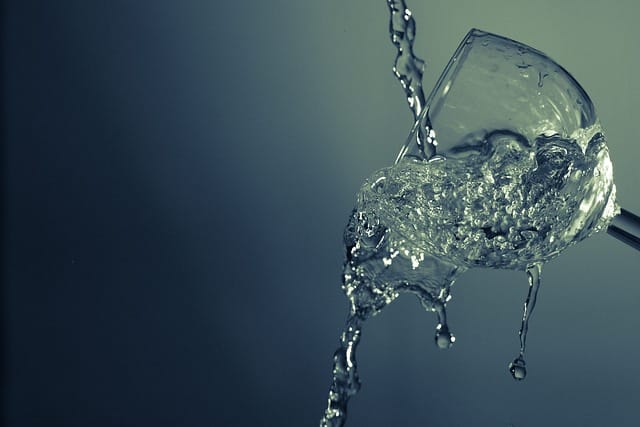
Also, a gap between the top of the tank and the water’s surface is how your fish get their oxygen-carbon dioxide exchange for breathing.
Step nine:
Once the inside is thoroughly cleaned and put back together, and then you can begin to clean the outside of the tank.
Use the aquarium-safe glass cleaner to wipe down the outside tank glass.
You may also want to use this cleaner on the aquarium hood, light, and other areas outside of the tank.
Step ten:
Before you reinstall the aquarium devices (filtration system, light, heater, etc.) check your devices.
This is especially important for the filtration system. Check to see if any of the media needs to be changed out. If so, now is the time to do so.
The carbon filter should be changed monthly but can be rinsed with each cleaning throughout the month as long as it is replaced with a new one each month.
Step eleven:
The final step is to introduce your fish to their cleaned habitat. Do so slowly and as though you were introducing them to a new tank.
Fish should never be drastically dumped from one container to another as this can cause stress and even death.
Saltwater Aquarium Cleaning Method
Step one:
Gather all of the cleaning supplies that you will need and prep the area for cleaning. You will likely need the following supplies.
- An algae scrubber or pad (to clean the inside of the aquarium glass)
- Aquarium-safe cleaner (for the outside of the glass)
- A bucket of replacement water (should be the same amount of water that is being removed. i.e. 30% water removal = 30% water return, full water removal = total water return). Replacement water should be treated and at the right temperature (same as current tank water).
- A thermometer to check the old tank water and the new tank water
- pH strips to test the new water for pH levels
- Saltwater aquarium salt mix
- Salinity probe
- Optional bleach solution (about 10% in a separate container)
Step two:
Time to use that algae scrubber!
Remove some of the tank water first to prevent overflow. Begin by gently rubbing the inside of the glass with the algae scrubber.
If you happen across a tough spot, then you may need to use the metal or plastic blade to help you scrape it off.
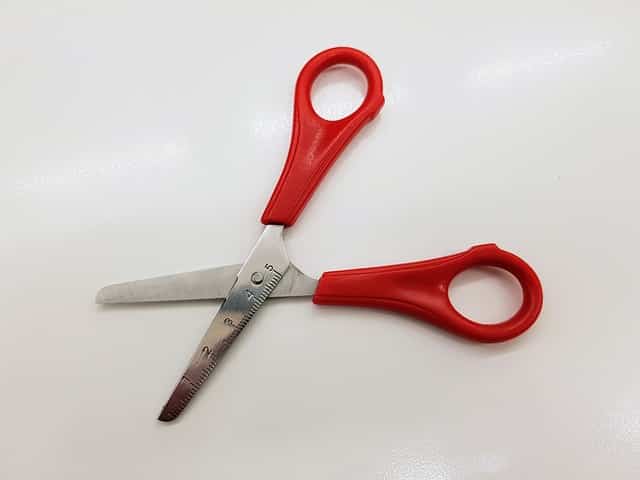
However, take caution with this object as it could not only scratch the aquarium, but it may also cut your hand.
Rubber gloves can help keep your hands safe but, you should choose gloves that have not been used for other cleaning projects or have been pretreated with chemicals.
Always use an algae scrubber as your dish sponge will have bacteria and detergent from the dishes.
Step three:
Remove the old tank water with the siphon.
Only remove the amount of water that you have ready to replace. Saltwater tanks require a 10% water change bi-weekly.
However, you may need to remove more (or all) water if your fish are ill or if the water quality is poor.
For example, if you have 10% of the tank capacity treated and at the correct temperature ready to replace old tank water then 10% of the old tank water should be removed.
Step four:
Once you have removed the intended amount of water from the tank and into a large container, you can now use the gravel vacuum.
The gravel vacuum should be used to remove any and all algae, fish waste, old food, and various other tank debris that is left at the bottom of the tank.
Gravel vacuums should not be used if you own a delicate saltwater fish breed if he is still in the tank during cleaning.
You may want to gently remove the fish in this case or place a mesh type fabric over the gravel vacuum hose to prevent damage to the fish.
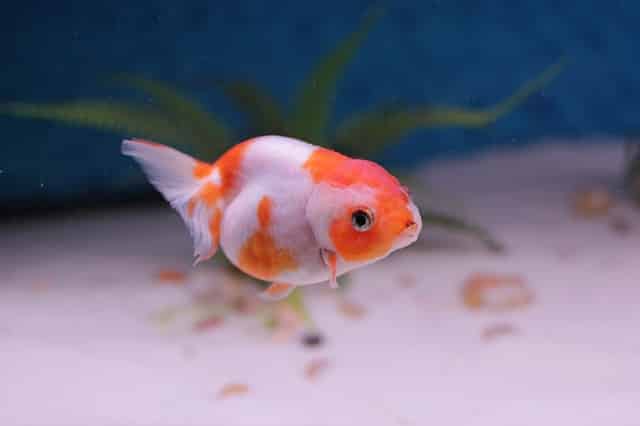
However, the mesh may not be able to remove all of the tank debris.
Step five:
Remove any and all aquarium décor for cleaning. They should never be washed with soap and water.
Instead, clean them with the help of the algae scrubber to remove any algae or other tank gunk that could be built upon the object.
If the décor looks like you pulled it from an underwater salt jungle, then you may want to consider changing the filtration device, feeding your fish less, or adjusting the number of tank inhabitants (in the case of overcrowding).
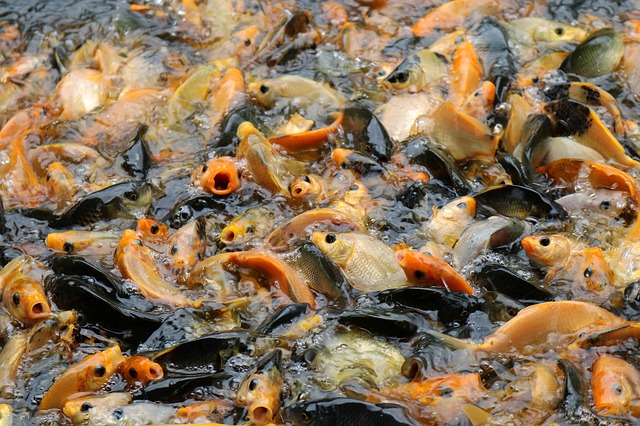
Reposition the objects in the tank as you are done cleaning them. Your fish will enjoy a change of scenery!
Step six:
Saltwater will typically evaporate towards the top of the tank, and when it does, it will leave a crusty, salty layer.
This crusty salt layer is sometimes referred to as salt creep and can be cleaned with the algae scrubber.
It is important that you replace any water that was lost as a result of the evaporation.
Step seven:
Now it’s time to make the saltwater solution that will be added to the tank.
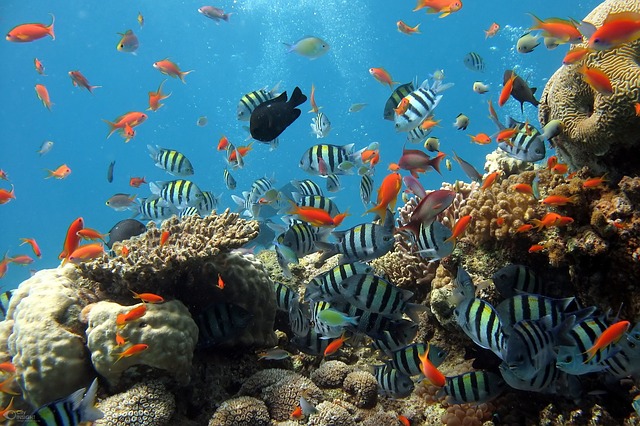
First, you need to test the water to make sure that it is at the correct temperature, pH, and salinity for your particular tank inhabitants (this part should be done the night before tank cleaning).
You will need to purchase distilled water and dump it into the bucket specifically used for tank cleanings.
The water will then need to be heated by a heater you can find at the pet store. Next, you will need to add the saltwater aquarium salt mix.
The package directions should be followed for quantity and other instructions.
The water should be allowed to aerate throughout the night and checked for salinity (with the salinity probe) in the morning.
The salinity tests should read between 1.021 and no more than 1.025. Then, tests the water’s temperature (using the thermometer).

Saltwater aquarium fish require their tank water to be warmer than freshwater fish and therefore you should be getting a reading between 72ºF and 83ºF.
If all of the tests come back normal, then you can begin to add the new water and salt solution to the tank.
Leave a gap between the top lip of the tank and the water’s surface to prevent overflowing, accidental electrocution and other messy situations.
Step eight:
Slowly add the saltwater inhabitants into their new clean environment.

Never dump fish from one container to another as this can cause stress and even death.
Step nine:
Test the water’s temperature daily and perform other water tests weekly to make sure all levels are normal for healthy and happy saltwater fish living.

